Mail Art!

posted by Nature Girl at 8:34 PM
4 comments
![]()
This blog is to showcase my art and craft projects as well as my mail art and altered books. I am teaching myself HTML and may from time to time use this as a practice blog for that as well.
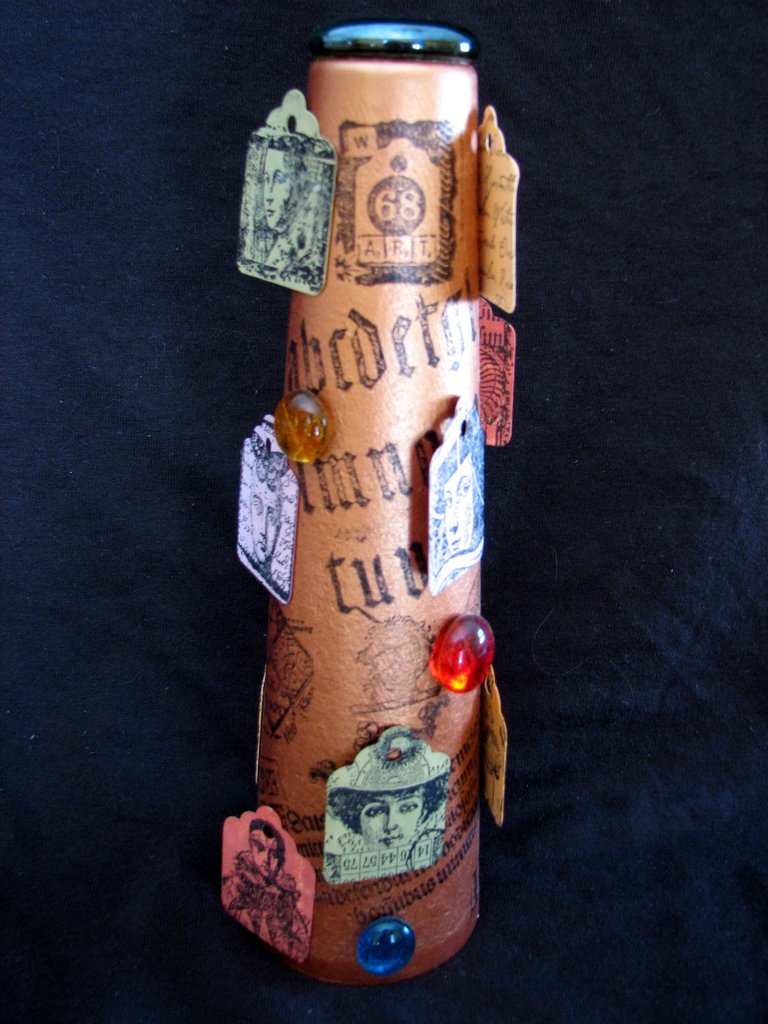 This is a thread spool from a Serger sewing machine. I didn't make this one, a friend I met while working at the craft store made it for me. She is the one who has taught me so much about Altered Art...in fact, she taught me how to make almost all of the pages in the altered book below.
posted by Nature Girl at 10:07 AM
3 comments
![]()
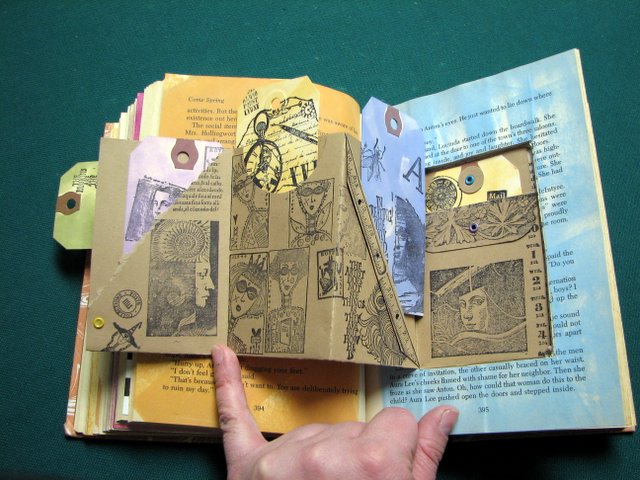
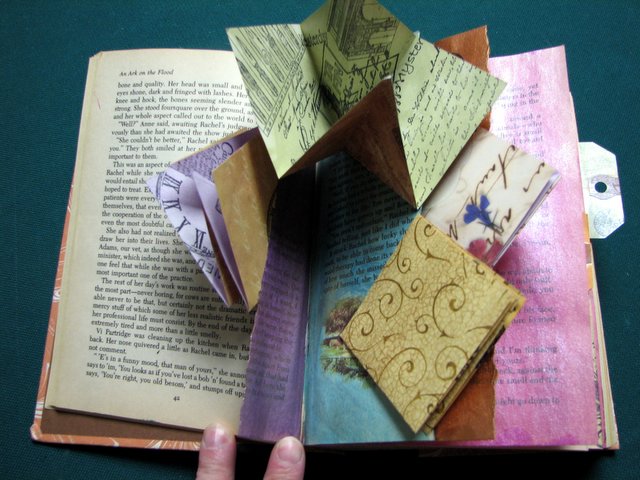
 This page is done by gluing 3 or 4 pages together and then cutting a window or two with an exacto knife around 3 sides when the glue has dried. Glue photo's to the back page so that they show thru the windos and then glue that page to the ones in front of it. I used chalk inks directly onto the page of the book and will later stamp images on the pages as I have in some of the other pages. As always, this is a work in progress, so I may make pages but not stamp them or complete them until some time later.
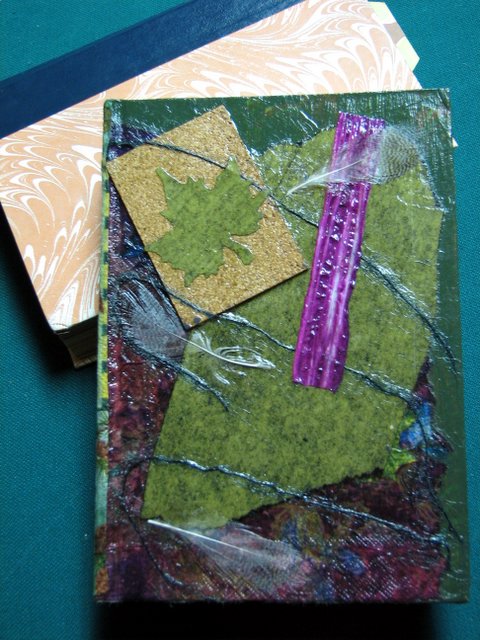 This is the cover...I have used Readers Digest Condensed Books that can be found at tag sales for a quarter. I have decoupaged several different kinds of papers ont the cover including a napkin, a piece of cork, a die cut, some string, a couple of feathers and some paper ribbon that I have unraveled.
posted by Nature Girl at 10:11 PM
4 comments
![]()
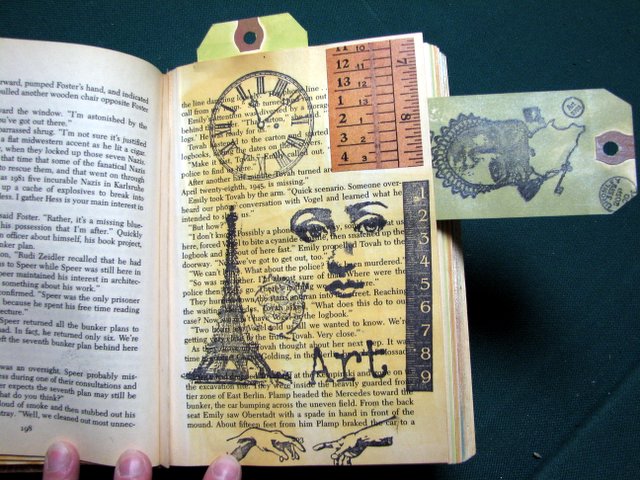
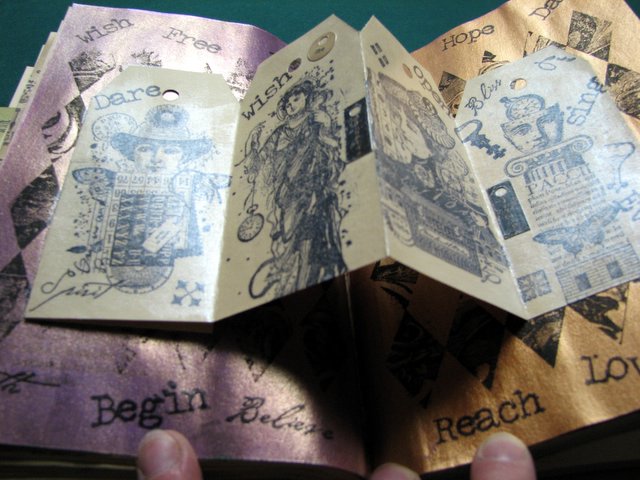 This page was painted with metallic paints, then stamped in black ink. The tag book was stamped before it was folded, and then folded accordian style, trimmed at the top corners and hole punched in the middle. Then laying the book flat, glue the two end pieces to the pages so that it folds properly when the book is closed, but pops up when opened.

posted by Nature Girl at 10:09 PM
4 comments
![]()


 I just cut several pages at different lenghts with various shaped scissors, colored and stamped. The next step will be to add some tags to each page in such a way that it will spell something. I just haven't decided how I want to finish it yet, but I kind of like just looking at it the way it is.
posted by Nature Girl at 10:08 PM
2 comments
![]()


 This page was made using several coin envelopes. Just glue them together, using a thin stripe of glue down the centers after cutting the flaps off. Glue a piece of cardstock to each end creating a book cover. Glue the back of the book cover to the page of the book that you choose. Add decorated tags to the envelope pockets.
posted by Nature Girl at 10:05 PM
1 comments
![]()
posted by Nature Girl at 6:23 PM
1 comments
![]()
